
Pages
Once logged into the twik dashboard, you can find the Pages view in the Views Side Panel. The Pages view consists of a graph and table where you can view your site’s pages performance across all KPI’s for a selected time frame. Twik automatically recognizes the different pages on each of your domains, so all pages in each of your domains or projects will be shown in this section of the dashboard, no need to manually add pages.
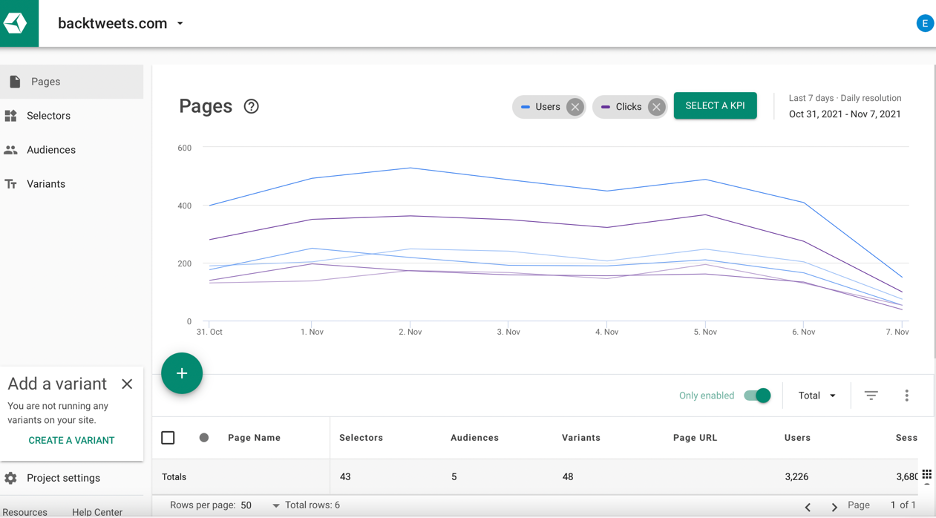
The far left column on your table consists of the various pages you have on your site. Once you click on any given page name in the table, a right side panel will appear with details and adjustment options related to the selected page.
Properties and Connections

The right side panel consists of two tabs, Properties and Connections. Under the Properties tab, you’ll see various options to change certain settings of the selected page.
– Status – Here you have the option to enable or disable the page. When the status is ‘enabled,’ it means the page you’ve selected is being exposed to personalization, and when the status is ‘disabled,’ the given page is not being exposed to personalization. If any of your pages are disabled, they will not appear in your KPI table unless you select to view both enabled and disabled pages in your table.
– Page Name – The name of the selected page in your twik dashboard
– Page URL – The official URL of the particular page selected
– Page goal and Goal type – By checking the page goal box, you’re assigning the selected page to have a specific goal. You can choose your desired goal for the page in the drop down menu under Goal type. The number of goal type options can vary based on the type of site you have, but the main idea of this component is to target a specific page, or action within that page, that you want your users to engage with. For example, if I’d like my search page to to engage with selectors on that given page, my selected goal type would be selector engagement. Another example would be if I want a particular page on my site to be viewed by many users, my selected goal type would be Pageview.
Make sure you click Save in the top righthand corner to save any changes made.
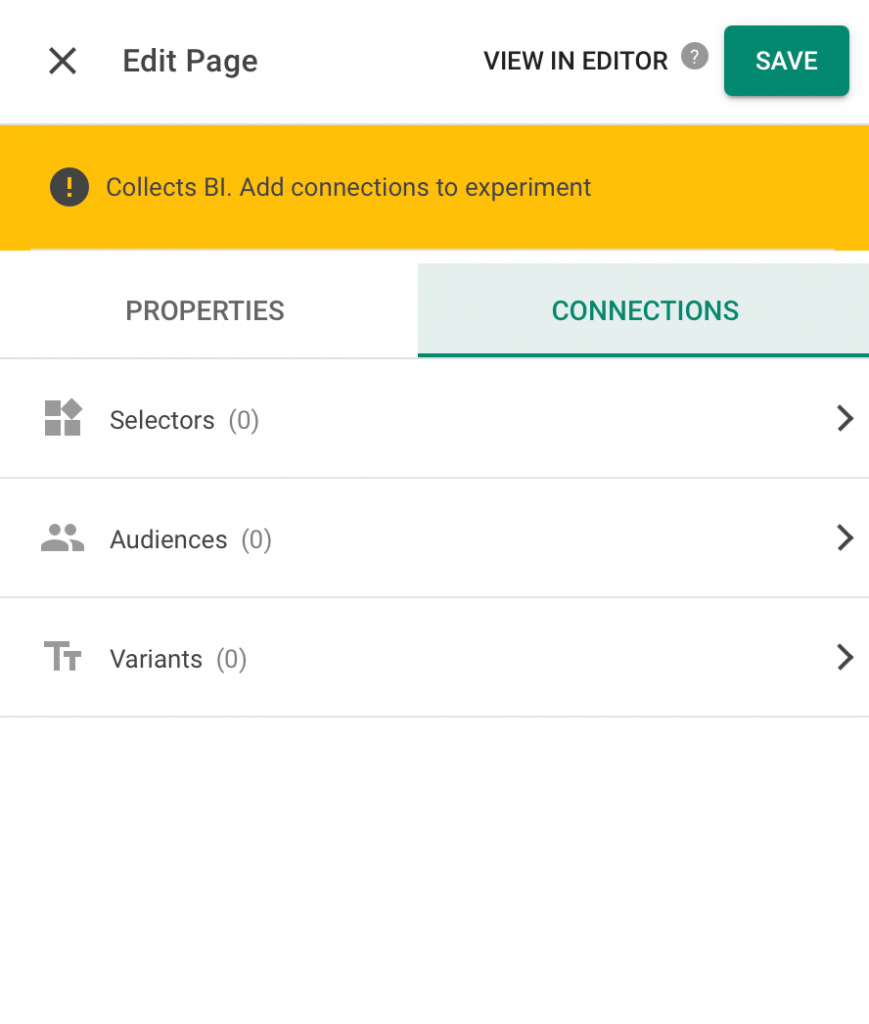
Under the Connections tab, view which audiences, selectors, and variants are currently active on the page you’ve selected.
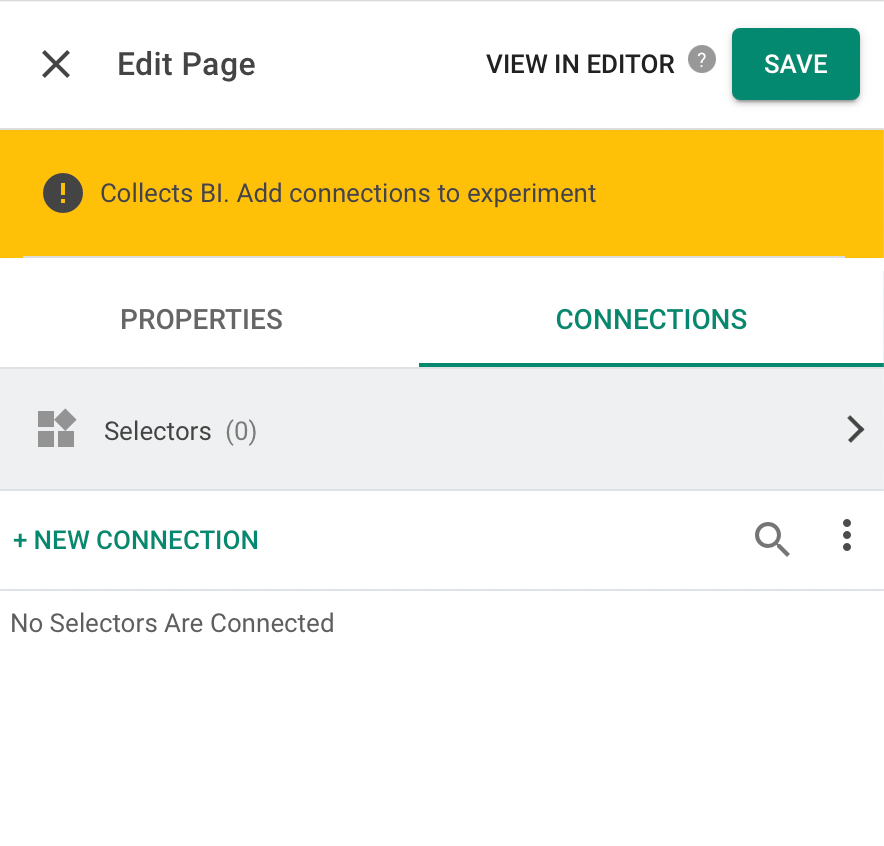
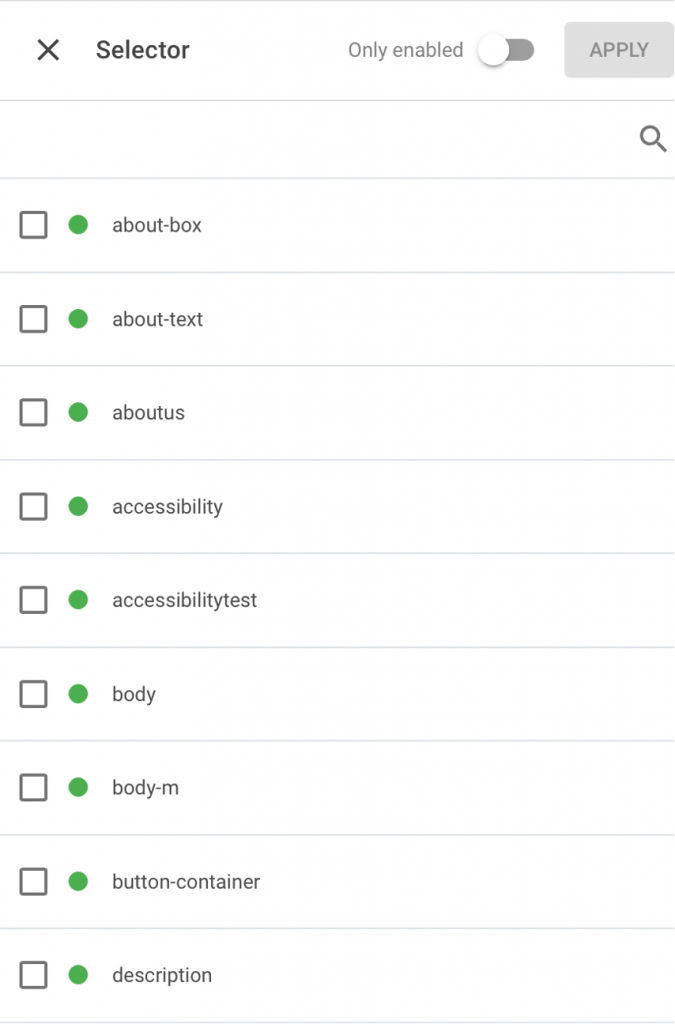
If you don’t have any audiences, selectors, or variants connected to the selected page, click on either audiences, selectors, or variants (whichever you’d like to connect to the page you’ve selected) then click New Connection, and select which audiences, selectors, or variants you would like to connect to the page. Once you’ve clicked New Connection, you’ll notice a toggle on the top right where it says only enabled. When it’s green, that means that only the active selectors/variants/audiences will be shown for selection. If its grey, meaning not enabled, then both active and nonactive selectors/variants/audiences will be shown.
When you first create selectors and variants, you need to assign it to a page in the creation process anyway, so if you’ve created at least one selector and/or one variant, it will already be shown in the Connections tab of the page you’ve connected them to.
Note that any changes made under the Properties tab and Connections tab can also be made using the visual editor.
Once you’ve selected your desired selectors, variants, and audiences you’d like to connect to the selected page, make sure to press Apply at the top right corner to save any changes.